

HOW TO HAND SEW SEQUINS: A Course in Creating Custom Embellishments with Sequins
Recently I have been seeing a host of embellishments of all manner in fashion magazines and on the runways. Perhaps since clothing shapes and silhouettes are holding steady, embellishment is a way to make clothing new and enticing. Whether it’s just a sprinkling here and there or an all-over design, embellishment is a fun way to both personalize and dress up your wardrobe.
This winter I discovered that one of my favorite sweaters had been enjoyed by some moths. Uggh! However, instead of being upset, I decided that this presented the perfect opportunity to create a design that I had been playing around with in my mind and repair my beloved sweater.

The design that I had in mind was something between a leopard print and a paisley. Initially I wanted it to be more leopard, but the scale of the paisley seemed more fitting. Also, I really wanted the design to only be on the front of the sweater as beads and sequins- especially when sewn to a knit have the tendency to rub. Then there is the issue of of placement. A leopard or paisley print with unfortunate motif placement could look ridiculous very quickly. I did not want to draw any undue attention to my bustline.
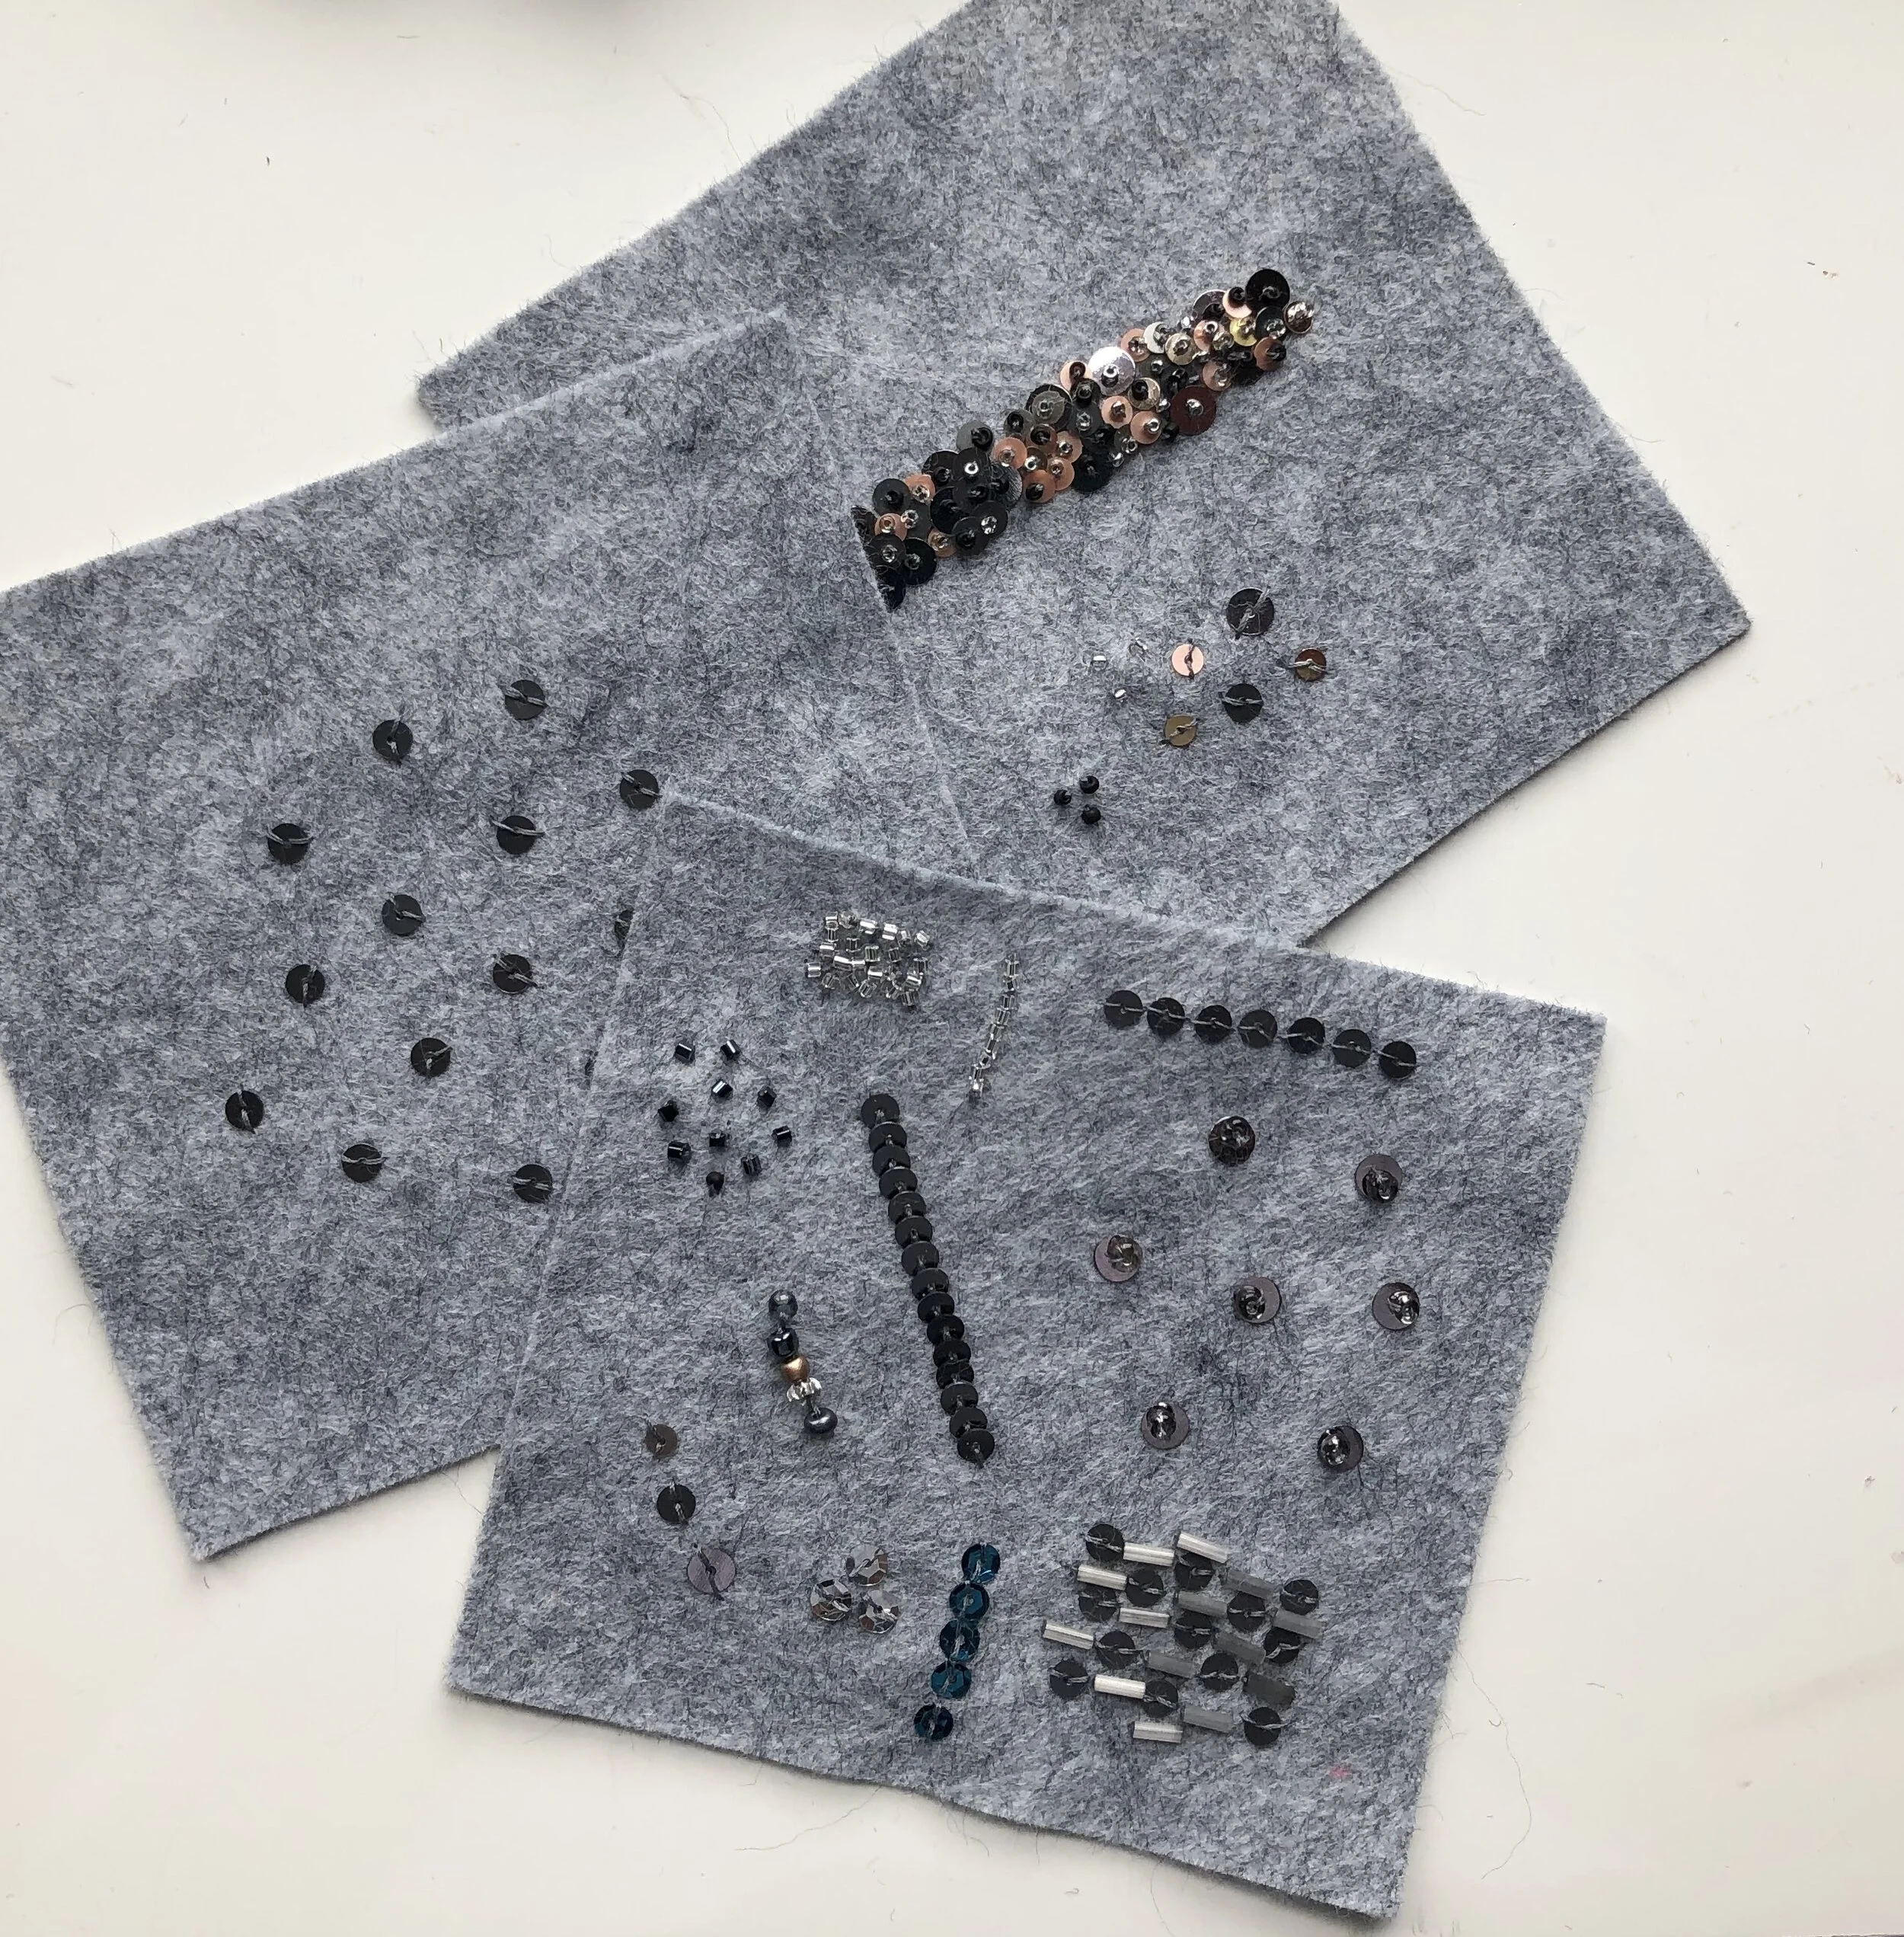
In order to clear this hurdle, I made a few shapes to pin on the sweater to determine the best placement and repeat. Once I was pleased with the placement, I began to sew. It took probably 10-12 hours to complete, but I am quite happy with the result and even more pleased knowing that my once loved sweater may now last me another 15 years.
Want to try your hand at embellishing a sweater? The steps below outline how I did it, but they can be adapted to any sequins pattern you create.
You’ll Need:
Sequins, I used one ounce of 5mm
Thread, Ideally, fil a gant, or gloving thread.
Contrast or Basting Thread (all purpose is fine. Good time to use the odd ones:)
Pins and scissors
A sweater
HOW TO SEW SEQUINS BY HAND
Step 1. Create the design. You can follow mine or map out your own. Paper and pencil is a great place to begin. If you are in need of inspiration, look in your own wardrobe. Which motif’s do you seem to be drawn to? Polka dots? animal prints? stripes? Start there.
Step 2. Determine placement and design repeat. Do you want the design just on a specific part of your sweater? Or would you prefer an all-over design?
HOW TO HAND SEW OVERLAPPING SEQUINS
Sequins come in a variety of shapes and sizes. The ones that I chose are flat and matte rather than the sparkly cupped shaped ones. Sequins size range from 2mm all the way to 30mm. I tend to like the 3-15mm, as I can use an embroidery needle and thread to apply. While sequins can be applied by machine, I do enjoy hand sewing them. Though it does take some time, for speedier work, you can purchase pre-strung beads and sequins.
To hand sew sequins, the thread should be doubled and kept short to prevent twisting and knotting. Be sure to use a light hand as pulling stitches too tight, will create puckers in the fabric. Run your thread through the beeswax or thread magic.
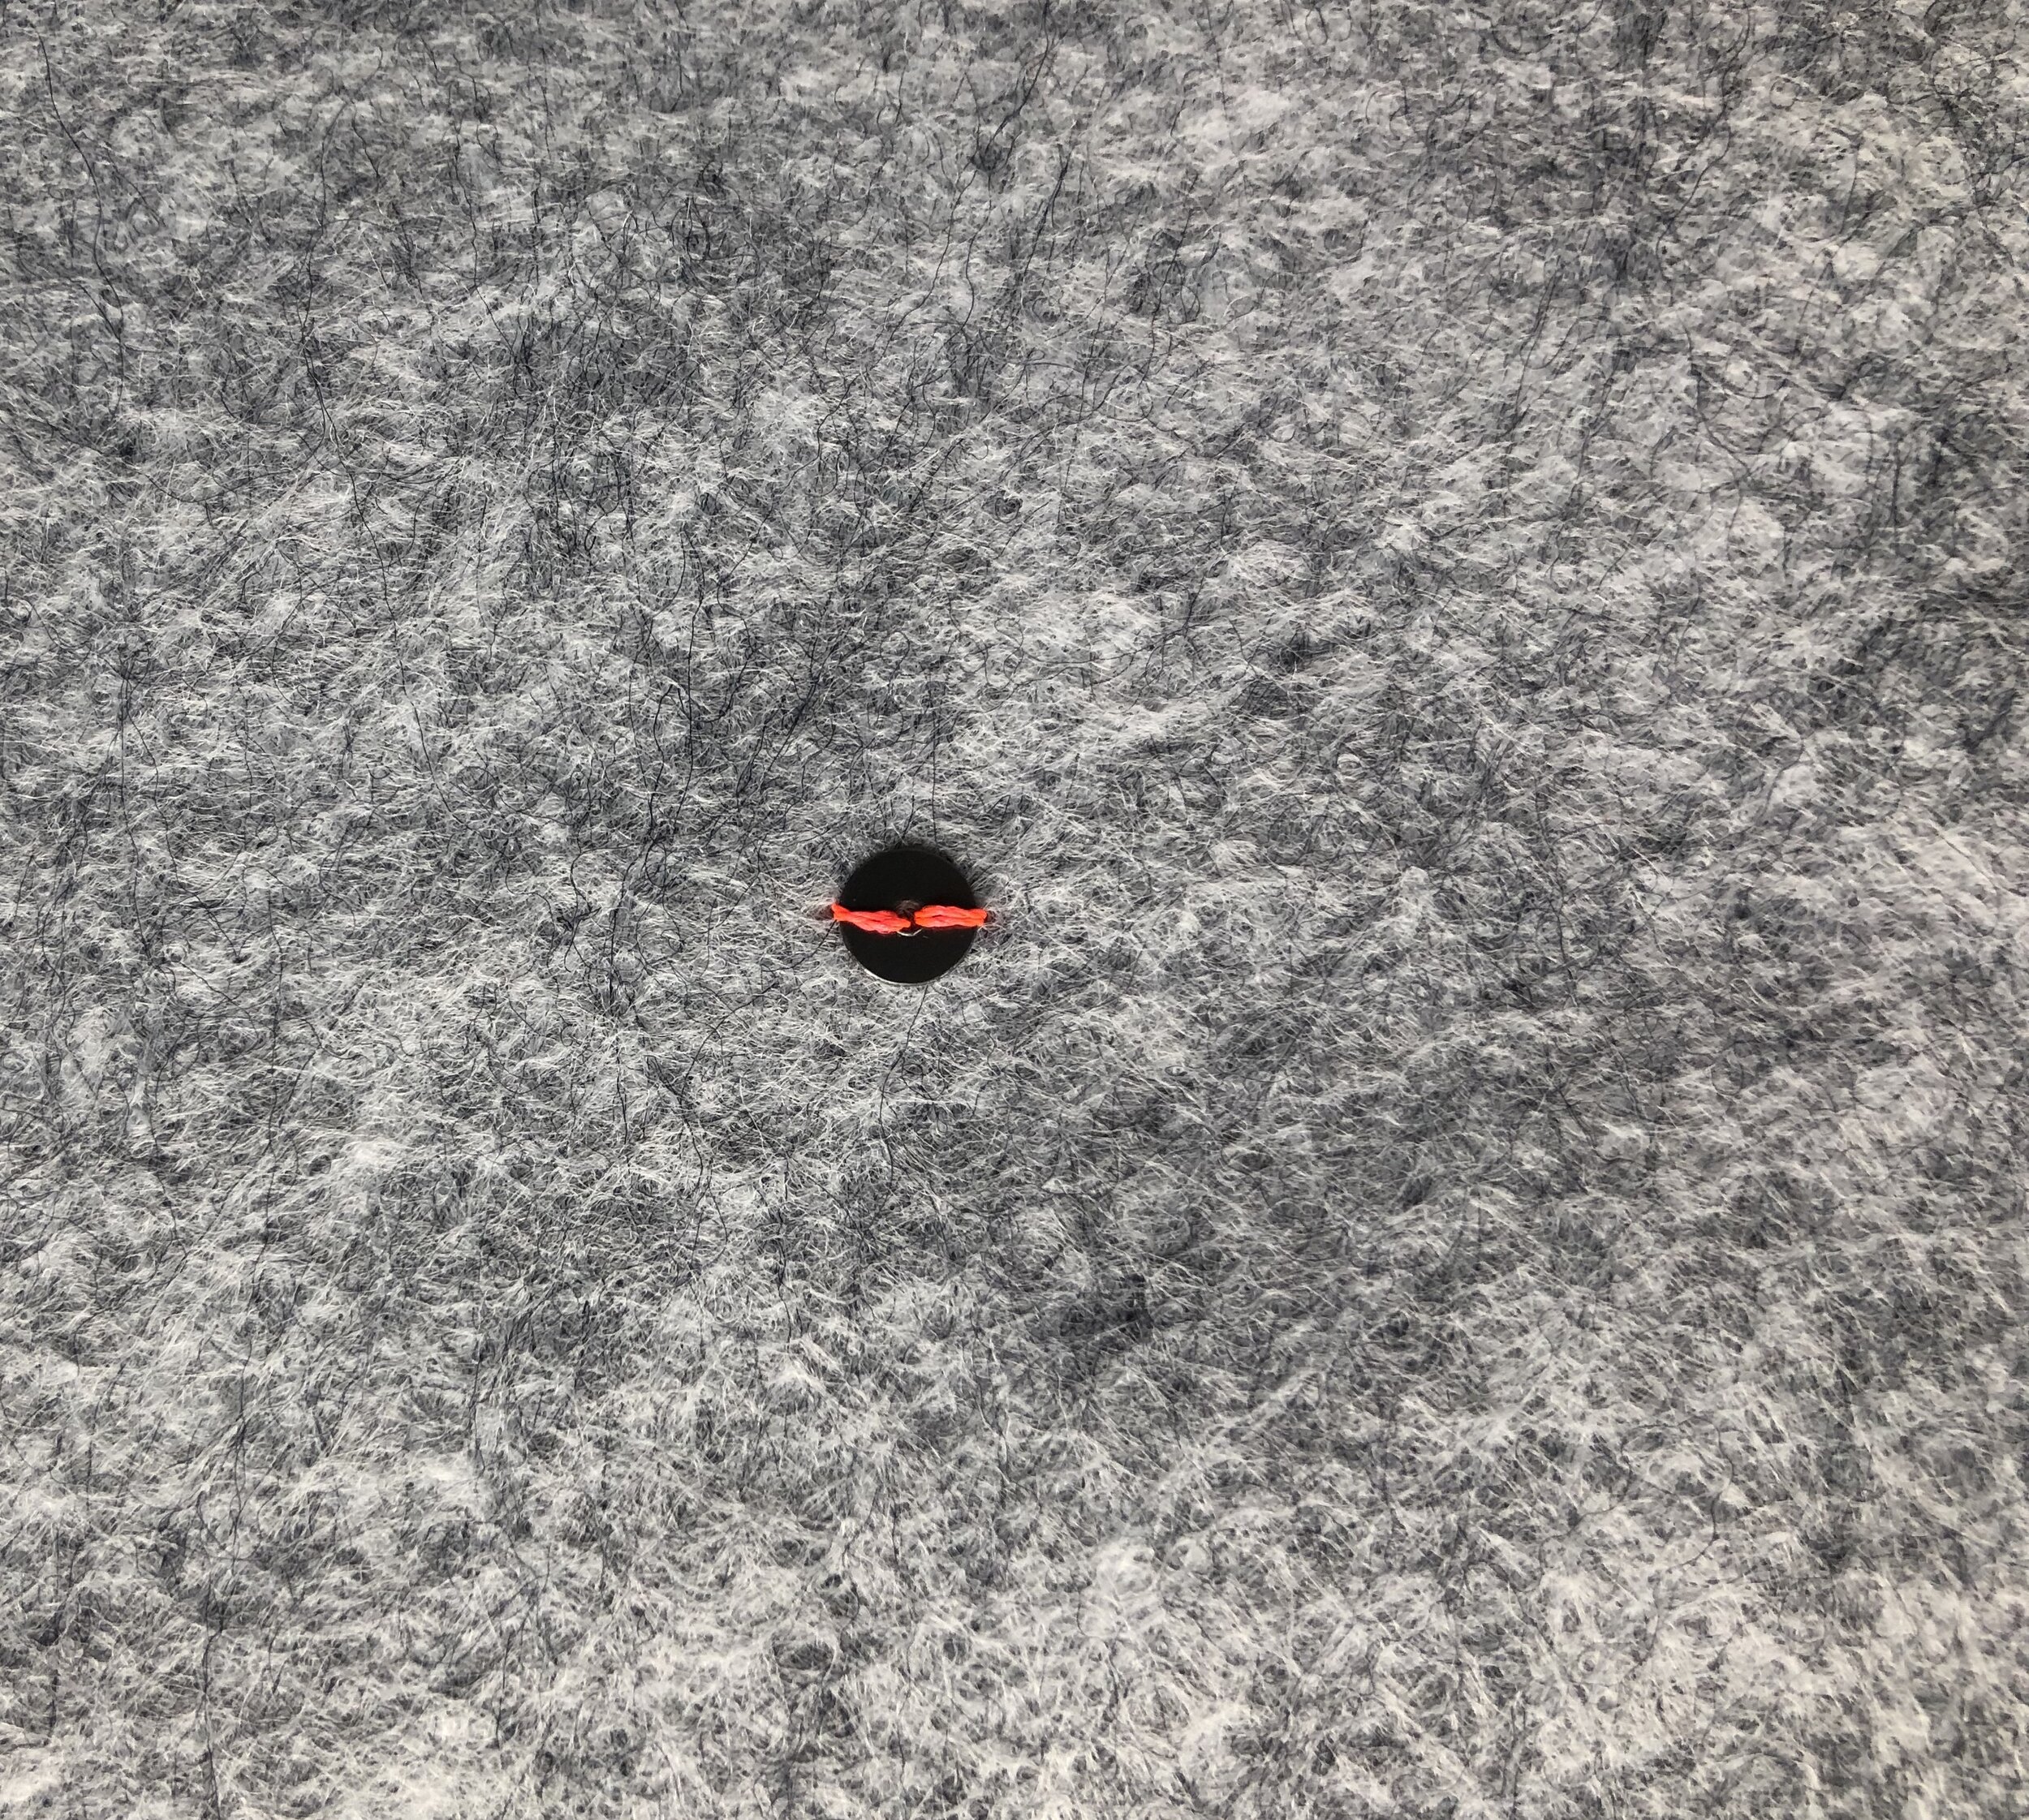
Before adding the first sequin or bead in my pattern, I do like to make one small stitch in the fabric to secure.
To sew a line of overlapping sequin, begin by inserting your needle from underneath the fabric and pushing up.

Place a sequin on the needle and pull toward the fabric to place.

Bring the needle to the side of the sequin to stitch over the edge and coming back up through the center. Pick up a second sequin, place it so that it just overlaps the first and stitch over the edge to secure. When you pull the thread, it should pull the sequin in its place.


Another view with all of the steps together. Once you get the hang of it, it really does begin to go rather quickly.
HOW TO HAND SEWN SCATTERED SEQUINS

For an all-over effect, this scattered design really packs a punch. I have a skirt that I made years ago that is embellished with an all-over pattern of sequins with a seed bead secured in the center.
HOW TO HAND SEW INDIVIDUAL SEQUINS

Begin in the same manner as before, with a small hand stitch to secure the thread to the fabric.
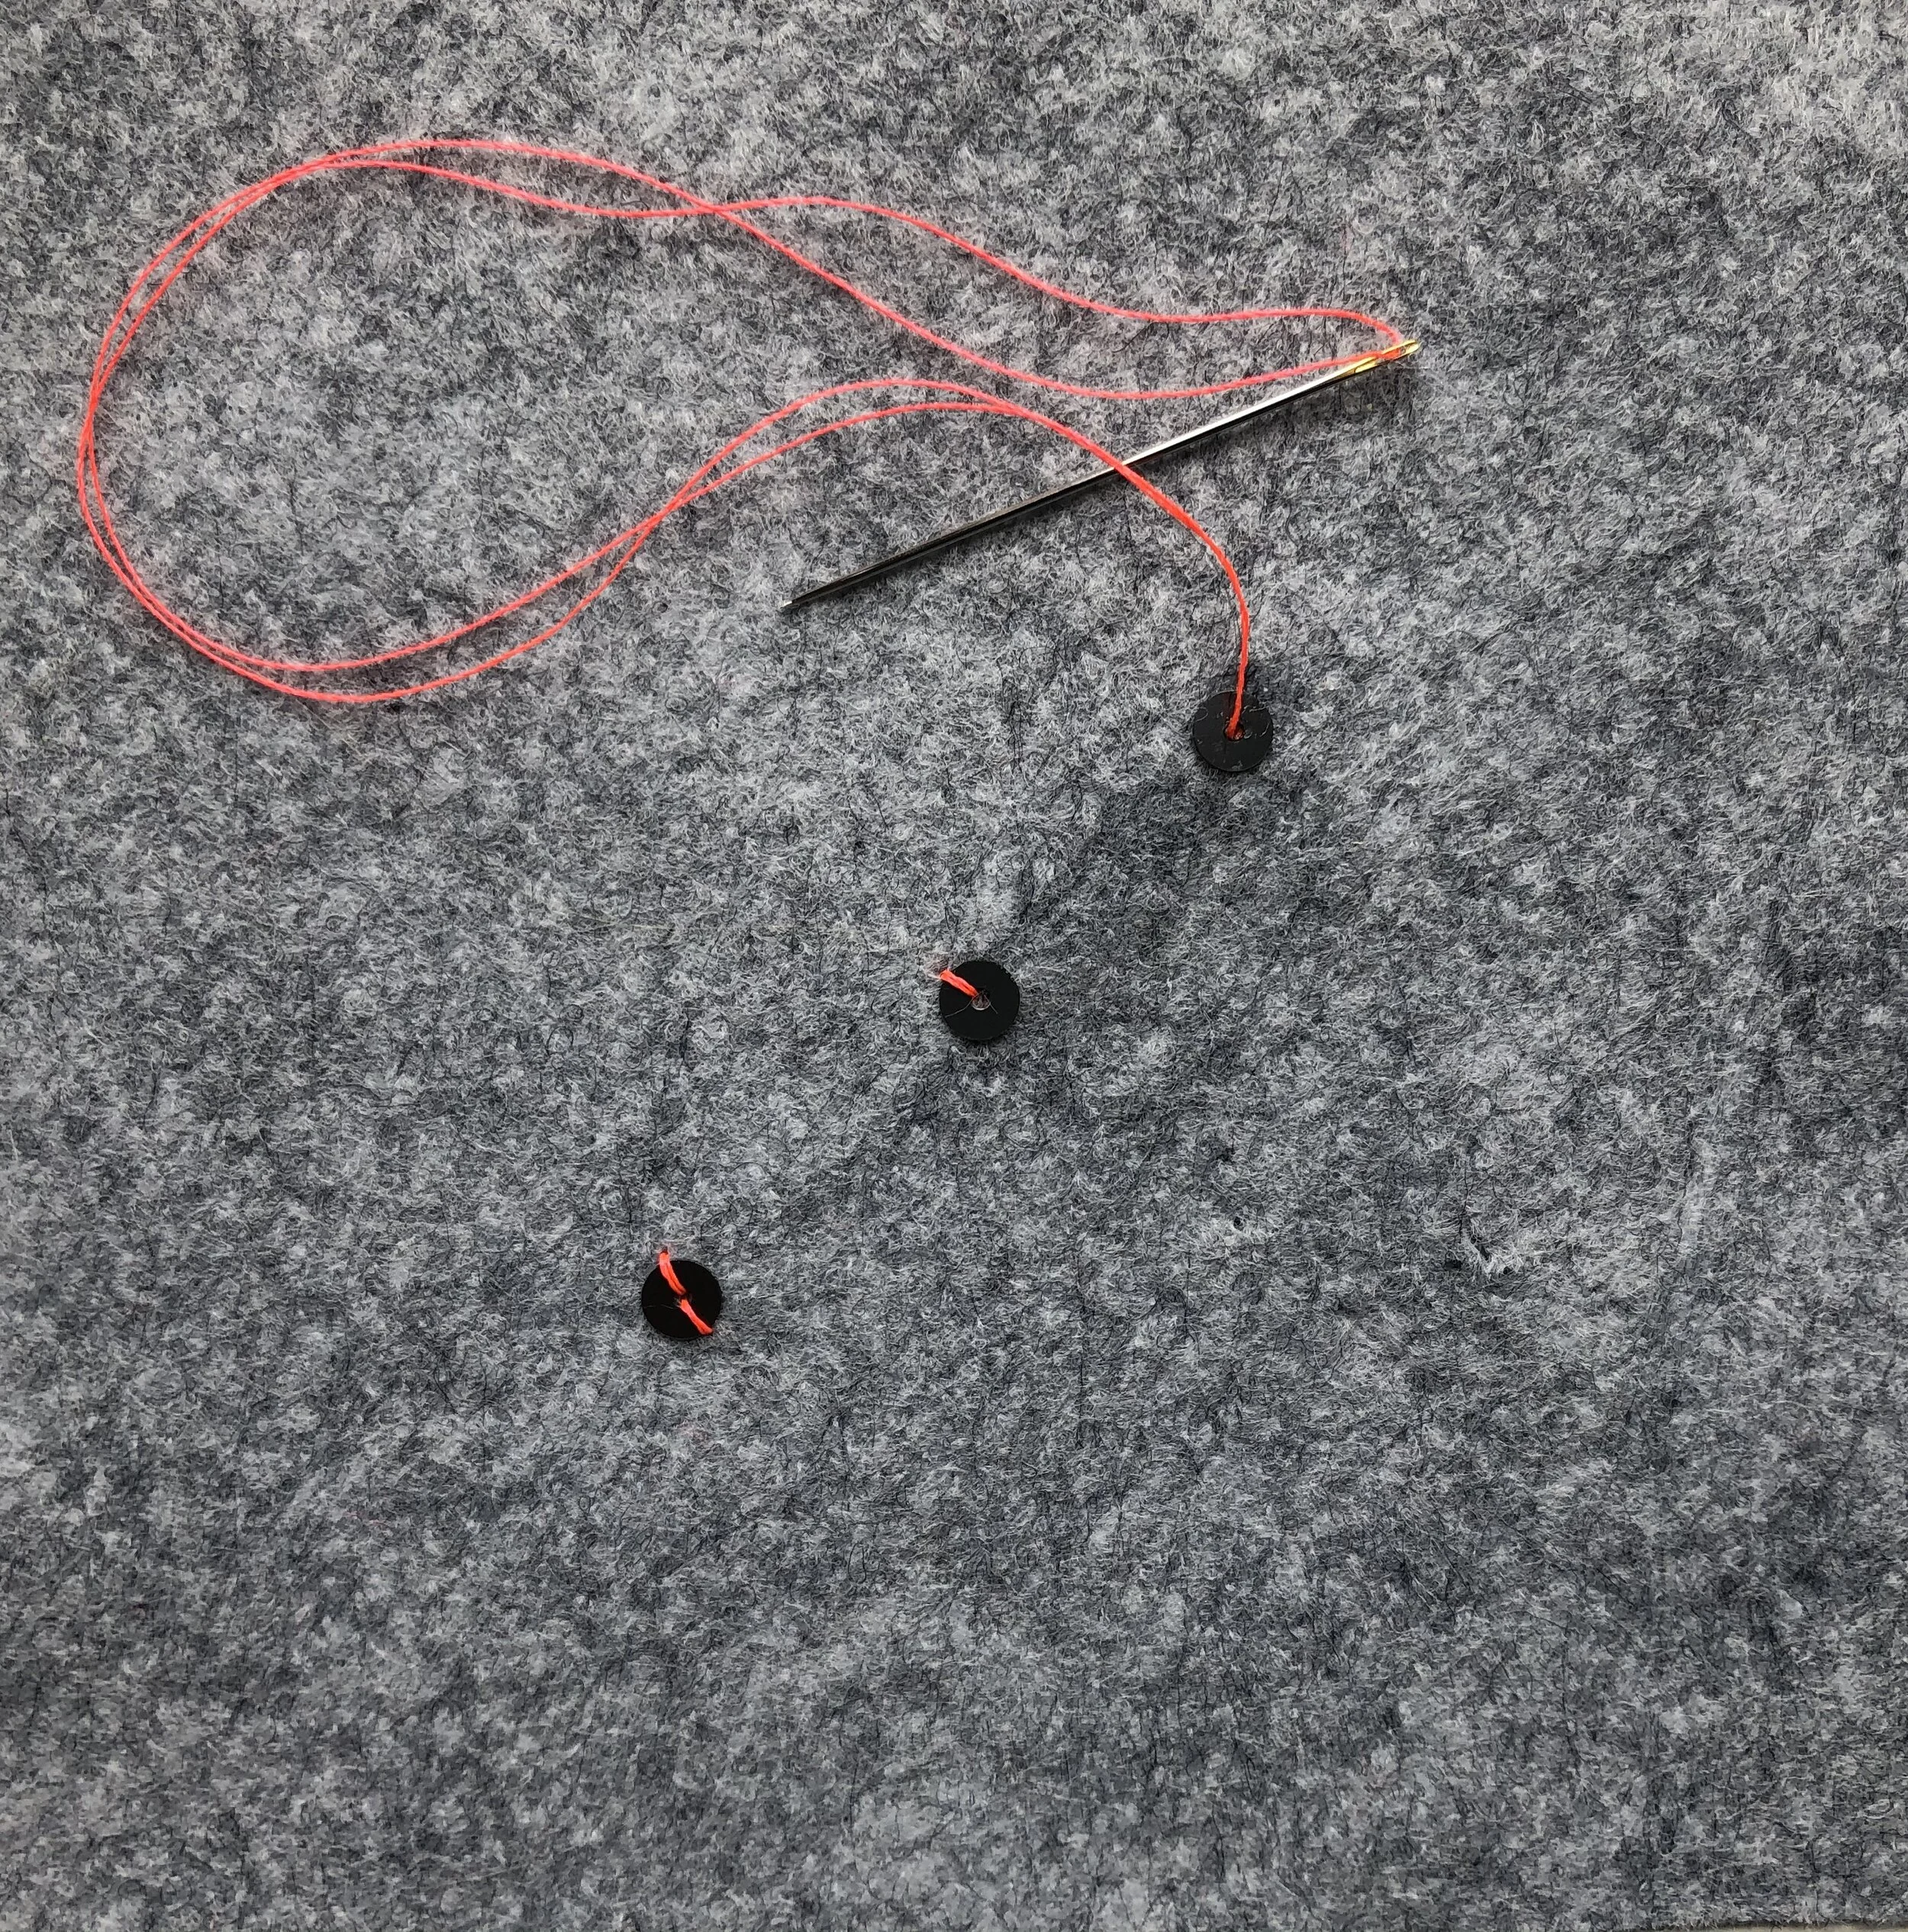
insert your needle from underneath the fabric and gently pull up. Thread the sequin to your needle and down the thread to place.

Insert your needle just over the edge of the sequin, through the back and try to come out just to the opposite side.

Push the needle back into the center of the sequin and pull toward the back.

Here are all of the steps again, in order.
As you complete each sequin, you can knot the thread off at the back of your work or just carry it over to the next sequin.
PUTTING IT ALL TOGETHER

My new/old sweater!
Before applying the sequins to my sweater, I outlined each shape with contrasting thread. Then I began to apply the sequins in an overlapping manner following the outline and filling in as I went along.

Remove basting thread and move onto second row of outlining.

Third row of following the outline.

A few more sequins to fill in the center and it is done!

This repair was to an old sweater and one that I have hand-washed many times. However, if you plan to embellish a garment that you might need to dry clean or that you would like to more easily remove the sequins, you could sew each motif separately onto a pieces of organza or tulle as individual appliqués and then stitch them onto your garment.
I have worn the sweater several times since this repair and I have to say, I do love the sparkly casual feel. While it is a bit dressier than many of my other sweaters, it is now a weekly favorite.
If you enjoyed this tutorial, I do have a Pinterest Board where I frequently pin ideas for refashioning and embroidery. Check them out!
XO, Hilarie

How to care for your clothing
Until very recently, caring for and mending our clothes and other textiles was a necessity. Sometimes because of rations or scarcity, but more often, because clothing was valued. Time and effort went into both purchasing and maintaining a wardrobe.
The key to a longer-lasting wardrobe is to care for your clothing. Treat clothes gently and mend them when they need repair. That means sewing on buttons, replacing a hem or mending a moth hole. Through these small acts, we will create a more meaningful relationship with the things that we purchase and prolong the life of our clothes.

Loved Clothes Last
Until very recently, caring for and mending our clothes and other textiles was a necessity. Sometimes because of rations or scarcity, but more often, because clothing was valued. Time and effort went into both purchasing and maintaining a wardrobe.
The key to a longer-lasting wardrobe is to care for your clothing. Treat clothes gently and mend them when they need repair. That means sewing on buttons, replacing a hem or mending a moth hole. Through these small acts, we will create a more meaningful relationship with the things that we purchase and prolong the life of our clothes.
Prolonging the life of your clothes
With the variety of modern fabrics, content labels, care labels, natural fibers, synthetic, stain resistant, wrinkle free, it is easy to become overwhelmed and just throw everything in the wash at once. Caring for textiles is a skill and one that is built over time and gained by testing different products and techniques. Generally, it helps to have a basic understanding of the care and keeping of each type of fiber and garment. Washing, drying and storing are all key factors in extending the life of clothing and home textiles.
For those of you who are interested in learning more about the how’s and why’s of textile and garment care, this book Home Comforts by Cheryl Mendelson is written for you! (I credit her with everything I know about keeping house.) It is so well researched and thoughtful- it literally has everything you need to know about textile care, repair, stain removal and proper storage.
The washing process is harsh on clothing and textiles. As a general rule, you only want to wash clothing when it is necessary. Clothing should be washed or dry cleaned only when it is soiled. Over washing fades the color and wears the fibers out rapidly. Each garment comes tagged with a care label. Try to make a practice of reading those and sort your laundry and wash accordingly.
As a gentle alternative to washing, allow your clothing items time to air out. A good 24 hours or so will allow the moisture from the body to evaporate and air to naturally deodorize your garment. I have a large basket in my room for this purpose. When I change at night, I drape my top, pants and bra over the side to air. (Socks, undies, running clothes are an exception. Wash those after each wear. Every time.) For dresses, jackets or anything that needs to be hung, I have a hook next to my closet for this purpose. Then in the morning, I brush the items before replacing into my drawer or closet.
If after airing and brushing I still feel like my clothing could use a good re-fresh, I use a hand held steamer and some laundry spray.
In my laundry room (basement) I have a sorting table where I lay all delicate and hand washable items. Underneath that are 4 baskets, one for whites, light colors, dark colors, and sheets and towels. Additionally, I have two drying racks and a laundry line. Most clothes are washed and hung to dry. After they are taken off the line, I put them in the dryer for 3-5 minutes to soften and get the wrinkles out.
Storage
There is so much I could write on storing! Long term storage, short term (day-to-day), seasonal, attic, you get it. For this post, I am just concentrating on basic closet storage. Though keep in mind that soil and stains attract insects. When allowed to remain on clothing, stains set in and become permanent. You never want to store dirty clothes. Clothing storage should accommodate hanging as well as folded items. Closets, drawers and shelves are all necessary- that doesn’t mean they have to be large. Just clean and organized. An organized closet is not only welcoming, but allows you to see what you have.
Hanging storage
Avoid using wire hangers and plastic bags. Wire can rust and distort the shoulder line. Instead, use wood or plastic hangers that are designed for each type of garment. Jackets, pants, shirts, dresses, skirts all have hangers designed to fit. It may seem like a big and unnecessary waste, but it is an investment that will go a long way toward keeping your clothing in tip top shape.
Flat storage
As a general rule, when folding and stacking clothes in a drawer or on a shelf, place the heavier, bulkier items on the bottom. Also, try to alternate the way that you fold your shirts and sweaters after each wear so that a permanent crease does not develop. As a space saver for packing and storing, consider rolling items such as socks and undies. Rolling can decrease the amount of storage space and prevent wrinkles.
What other clever tips do I have to share, you might wonder?
Here are five must-haves for anyone who’s interested in making their clothing last longer, their wallet a little fatter, and the world a little greener.
Clothes Brush This brush style is great for jackets, coats, pants, jeans and most sturdier clothing. Just a quick brush with the nap of the fabric and then against, helps to remove dust, hair, and debris.
Cashmere Brush Yep, it is an expensive one, but trust me, this brush lasts and is worth every penny. I have cashmere sweaters that I’ve worn winter after winter for 20 years. They still look as good as new.
Steamer This one is lightweight, doesn’t drip and steams and cleans like a champ.
Laundry Spray This has the most delicate of scents and really makes your clothes and sheets smell pretty. This one too is a new favorite and is great for ironing: Soak
Ivory Soap This is a classic and what I use for all hand washables. It is gentle, fragrance free, and cheap. A little goes a long way.
I hope that this post may encourage more consideration about what you wear and how you care for it, and ultimately, discourage thoughtless consumerism.
XOXO, Hilarie
An.thro.po.cene
On April 24, 2013, the Rana Plaza collapse killed over 1,100 garment workers in Bangladesh and wounded over 2,200 more. The incident left consumers all over the world questioning who makes the clothes we wear everyday and in what kind of conditions?
An·thro·po·cene
/ˈanTHrəpəˌsēn/
adjective
relating to or denoting the current geological age, viewed as the period during which human activity has been the dominant influence on climate and the environment.
"we've become a major force of nature in this new Anthropocene epoch"
noun
the current geological age, viewed as the period during which human activity has been the dominant influence on climate and the environment.
"some geologists argue that the Anthropocene began with the Industrial Revolution"
*Cited from dictionary.com

On April 24, 2013, the Rana Plaza collapse killed over 1,100 garment workers in Bangladesh and wounded over 2,200 more. The incident left consumers all over the world questioning who makes the clothes we wear everyday and in what kind of conditions?
Documentaries like The True Cost (If you haven’t watched it yet, it is free to view on Netflix.) shine a light on how the fast fashion industry depletes the earth’s resources and leverages slave labor to pass on a cheap cost to the end consumer. We live in a time where clothing is disposable and often costs less than a meal. How can something that needs to be grown, harvested, spun, woven, cut, stitched, labeled, packaged and shipped cost a couple of dollars? Fashion and the textile industry at large are tied to many other aspects of life, including culture, politics, agriculture and the environment. Through our shopping choices we can collectively influence how our clothes are sourced, produced, distributed, and as a result change the world in a real and meaningful way.
Historically, people learned to sew in order to make their clothing and home textiles. After the Industrial Revolution, when ready made clothing was available, it still needed to be kept up, altered and repaired. And, it was expensive. Sewing was then a means to recreate designer looks in a more affordable way.
As someone who loves fashion, the collapse of the Rana Plaza factory really got my attention. Since then, I have become much more aware of the impact of my decisions can have on the world at large. Getting started was tough! Not every brand is transparent in their sourcing and production. Making every item isn’t an option either. It is too easy to get stuck comparing choices or to just “opt out”. The truth is, there really isn’t a perfect choice. The most sustainable clothing is that which we already own. That being said, if you would like to see how your favorite brands rank, check the Fashion Transparency Index.
The easiest change that we can make to reduce our impact is to buy less and properly care for what we already own. Instead of buying new, consider vintage and pre-owned, rent or even swap with friends! I know all easier said than done, right? But consider doing just one thing differently. Right now, the average garment is worn seven times before it is discarded. Seven times. Imagine if we were to double that number and wear each clothing item 14 times? Radical, right?
When I was growing up, there used to be something called, “Cost per wear”. I have no idea where I learned it, but it was a fairly common concept. You check the price of the item, consider how many other things you already have to go with it, and try to imagine the number of times you will wear the garment. For example, say I bought a top for $80. If I wear that 7 times, it costs me $11.42 cents each time I wear it. A sweater for $100, $14.28. You get the point. Now, what if I only chose to purchase items that I really, really loved and took exceptional care of them. The cost per wear goes down exceptionally. Perhaps that sweater might last a decade or two and only cost me pennies per wear. Think about this next time you shop.
As conscious consumers, it’s more important than ever to educate ourselves. Nobody invented a magical, cheaper way to make clothing, and fabric didn’t drop in price. We just began exploiting developing countries and caring less about the damage along the way. By asking #WhoMadeMyClothes, demanding transparency, and vocalizing our objections we make a positive difference for the people making our clothes and goods. Real change can start with us.
This week, follow me on Instagram with the hashtag #whomademyclothes and #LovedClothesLast and check back here to learn more about how to take fashion into your own hands and to give a kind of noblesse oblige to your wardrobe.
XOXO, Hilarie

Conscious Consumption
As someone who loves clothes and fashion, you might be surprised to learn that I actually own very few clothes. Now, that is. In my younger years, I had multiple closets full of clothes and shoes in excess of 100 pairs. Not anymore. Once I became a mom, space, clutter and time became paramount. I also learned more about efficiency. Having fewer clothes means less upkeep and actually more options. The things that I do own, I wear and love.

As someone who loves clothes and fashion, you might be surprised to learn that I actually own very few clothes. Now, that is. In my younger years, I had multiple closets full of clothes and shoes in excess of 100 pairs. Not anymore. Once I became a mom, space, clutter and time became paramount. I also learned more about efficiency. Having fewer clothes means less upkeep and actually more options. The things that I do own, I wear and love.
To keep from getting bored with my clothes, I do tend to refresh and upcycle quite a bit. I might combine elements from two or more items or just cut up a skirt and refashion it into a dress. Often times these remakes are some of the clothes that I get the most compliments on.
To share some ideas with you on how you too can begin to slow down and reconsider your own closet updates, next month I am hosting a Sashiko mending workshop and a Clothing Swap. In addition to these workshops, I will be posting new content on this blog (now that I am promising it- it will happen. Accountability, my friends!)
What are some techniques that you would like to learn?